Are you struggling to sell your DIY wood projects? You’re not alone. Many passionate woodworkers find that their beautiful creations don’t get the attention they deserve in online stores. This post is here to help. I created this guide because I know how critical great photography is to showcase your hard work. The right images can make all the difference between a sale and a missed opportunity.
If you love crafting unique gifts and want to turn your home decor ideas into a thriving business, this is for you. Whether you’re a seasoned woodworker or just starting out, high-quality photos can elevate your listings and capture the hearts of potential buyers. After all, it’s not just about the product; it’s about how you present it.
In this post, you’ll discover practical tips on how to photograph your wood projects so they sell faster. From choosing the right background to capturing detail shots, every little detail matters. Get ready to learn how to make your creations pop and attract buyers in your online store. With these techniques, you’ll be well on your way to turning your DIY wood projects into profit!
Key Takeaways
– Choose backgrounds that complement your project, like soft fabrics or nature settings, to enhance visual appeal.
– Natural light is your best friend; aim for bright, diffused lighting during the day for clear, vibrant photos.
– Experiment with different angles to showcase the unique features of your wood projects, giving potential buyers a comprehensive view.
– Detail shots highlight craftsmanship; include close-ups of textures and finishes to entice customers.
– Consider lifestyle shots that show your projects in real-life settings, helping buyers envision them in their own homes.
Contents
- 1. Choose the Right Background
- 2. Use Natural Light
- 3. Mind Your Angles
- 4. Style with Purpose
- 5. Capture Detail Shots
- 6. Tidy Up Before Shooting
- 7. Experiment with Composition
- 8. Edit for Enhancement
- 9. Incorporate Lifestyle Shots
- 10. Showcase Variety in Your Portfolio
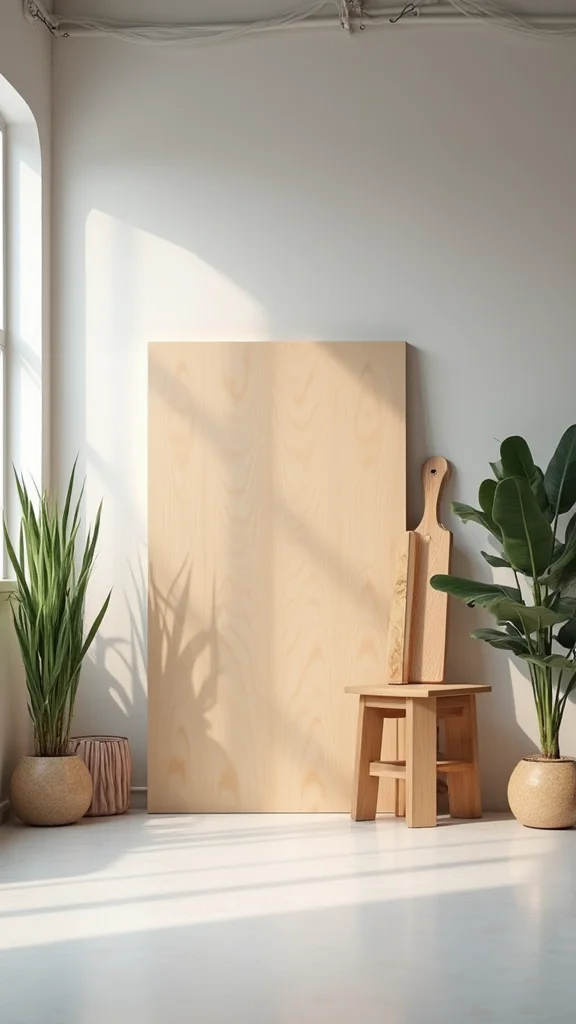
1. Choose the Right Background
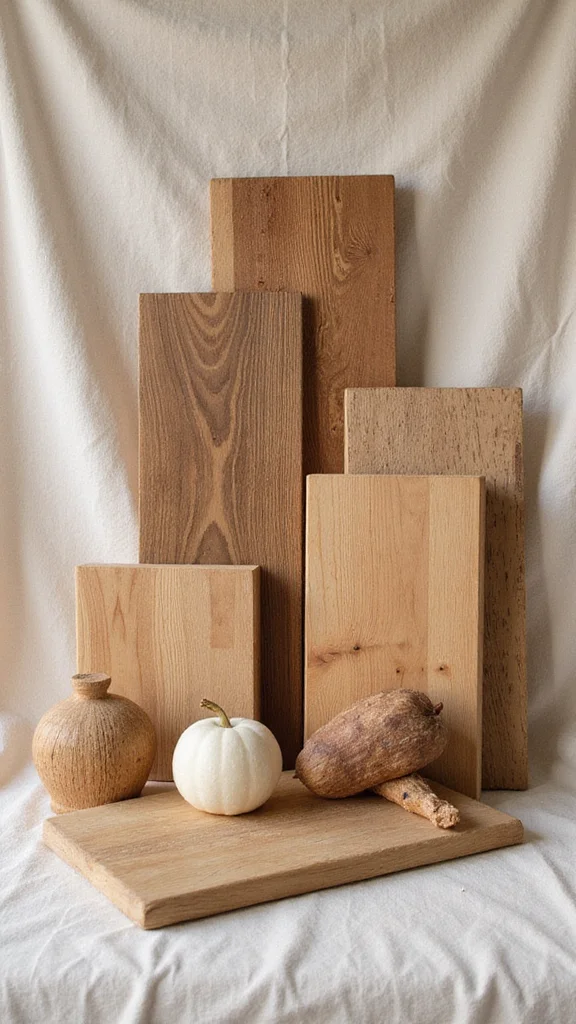
The background you select for your wood project photos can truly enhance their appeal. Opt for clean and neutral options like white walls or soft fabrics that won’t distract from your craftsmanship. Natural elements such as wood or stone can beautifully complement your pieces, adding a touch of warmth. Pinterest often showcases these trends, highlighting how textures like linen or weathered wood can add depth. When choosing colors, lighter backgrounds can make vibrant creations pop, while earthy tones help darker woods shine. Remember to: – Test different backgrounds to find what works best. – Keep the area clutter-free for a polished look. – Consider seasonal themes to add freshness to your setup. The right background will ensure your wood project stands out, making it the center of attention.
2. Use Natural Light
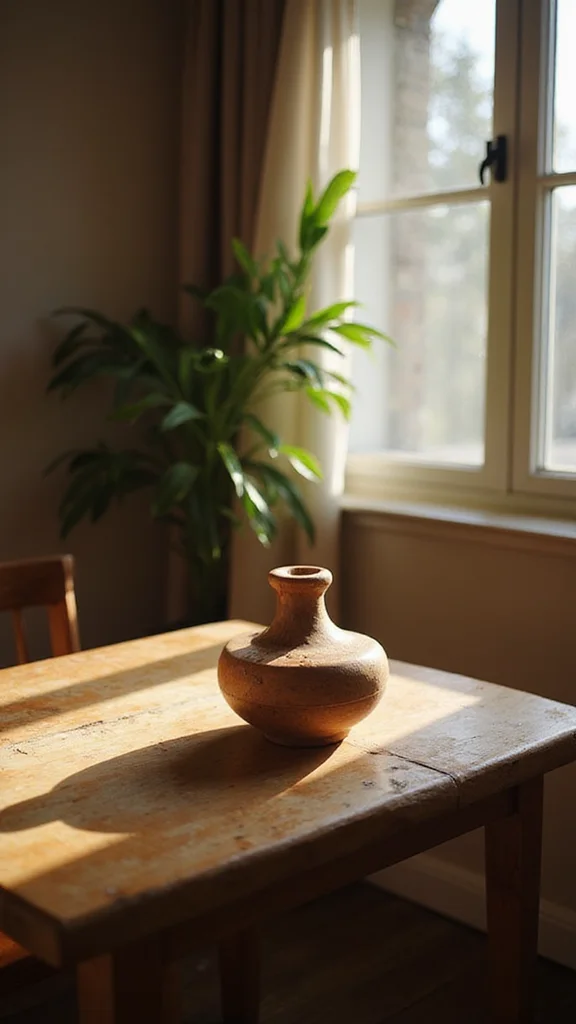
Natural light is essential for capturing the true beauty of your wood projects. It reveals the colors and textures, making them look more appealing and inviting. Position your setup near a window during daylight hours to benefit from soft, diffused light. Avoid harsh midday sunlight, which can create unflattering shadows. Instead, aim for golden hours—early morning or late afternoon—when light is warm and gentle. Use sheer curtains indoors to soften direct sunlight, or find shady spots outdoors for a balanced look. Quick tips for lighting: – Use reflectors to brighten up shadows. – Skip the flash to keep colors natural. – Adjust your camera settings to match the light conditions. Natural light can give your photos a professional touch, encouraging buyers to take a closer look.
3. Mind Your Angles
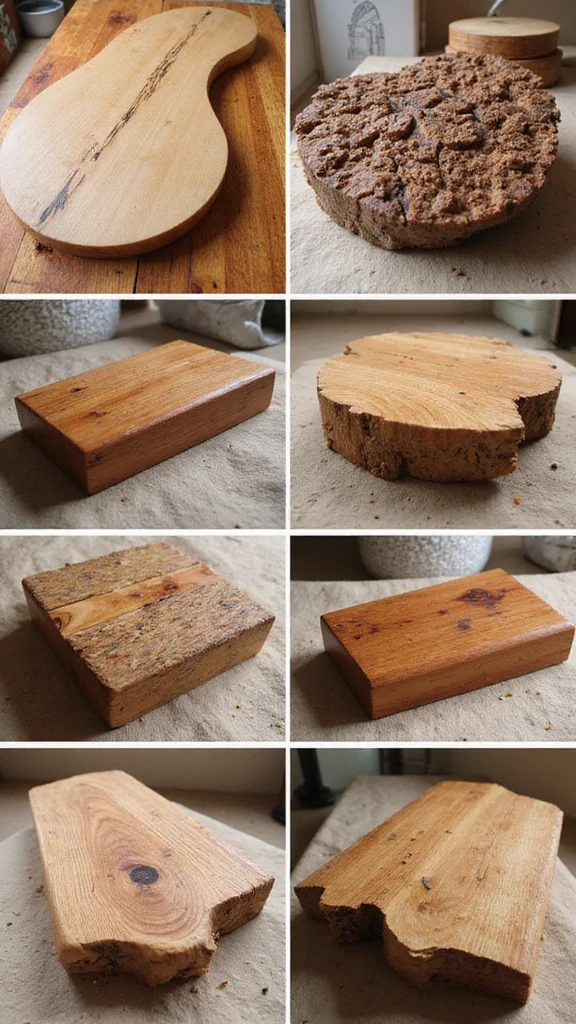
The angle at which you photograph your wood projects can change their entire vibe. Try different heights and angles to discover the most flattering views. A straight-on shot highlights symmetry, while a slight tilt can create a dynamic effect. Focus on close-ups of unique features like intricate carvings to showcase your craftsmanship. Don’t hesitate to experiment! Capture images from various perspectives—above, below, or from the side—to see how light and shadow interact. Use a tripod to keep your shots steady for clear images. Practical suggestions: – Use a 45-degree angle for balance. – Get down to the project’s level for a more personal touch. – Show the item in use to enhance emotional engagement. Varying angles keeps your photography lively, making your projects more appealing.
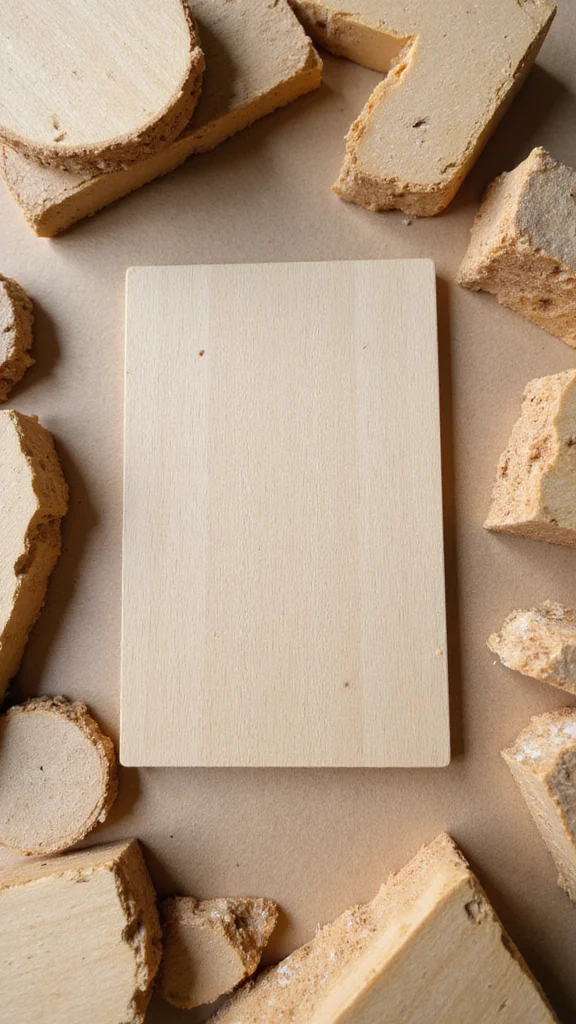
4. Style with Purpose
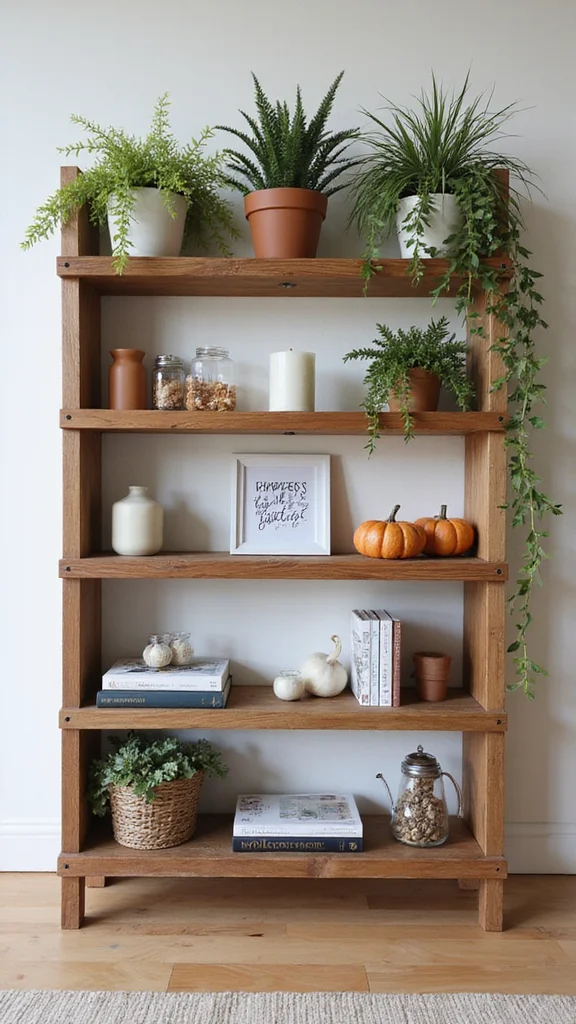
Styling your wood projects adds context and helps buyers visualize them in their homes. Incorporate complementary elements; for example, place books, plants, or decorative items on a wooden shelf to enhance its appeal. This not only makes the photo visually appealing but also inspires customers with usage ideas. Consider seasonal decorations, like autumn leaves or holiday ornaments, to create a festive atmosphere. When styling, keep these in mind: – Stick to a limited color palette for a cohesive look. – Avoid overcrowding; simplicity often works best. – Choose items that balance well with your wood project in size and shape. Effective styling can elevate your photos, showcasing your wood projects as desirable gifts in a crowded market.
5. Capture Detail Shots
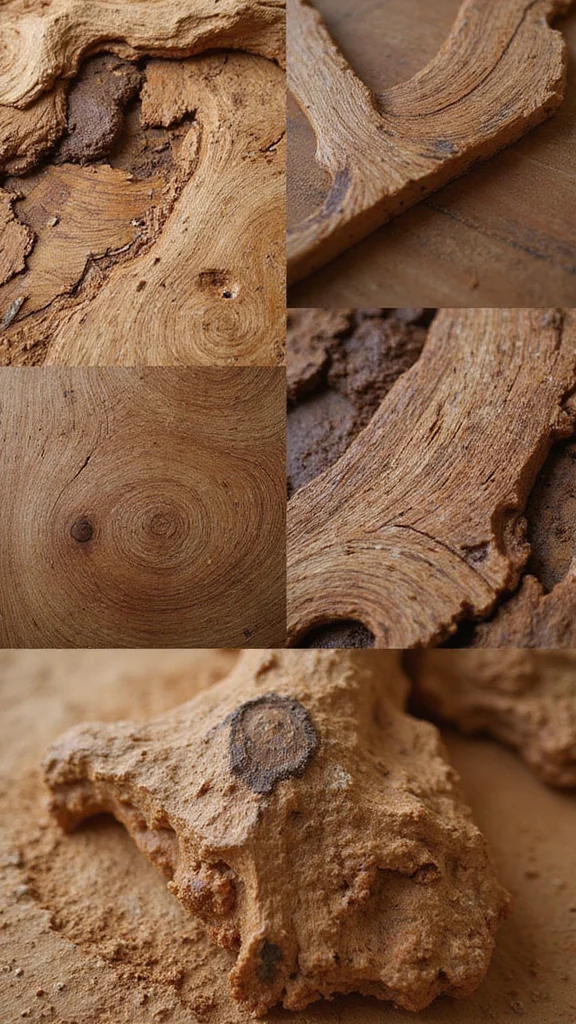
Detail shots are vital for showcasing the quality and craftsmanship of your wood projects. Focus on interesting patterns in the grain and unique textures that set your work apart. These close-ups tell the story of your craftsmanship, helping buyers appreciate the effort behind each piece. Use a macro lens or your camera’s macro mode for crisp shots, and experiment with depth of field to blur backgrounds while highlighting details. Keep these tips in mind: – Capture multiple angles of the same detail for variety. – Include hands in the shot for a sense of scale. – Use natural light to effectively showcase textures. Detail shots create a personal touch, allowing buyers to connect with your artistry.
6. Tidy Up Before Shooting
A clean environment enhances the look of your wood projects significantly. Before taking photos, declutter the area to remove distractions that can pull focus from your work. This includes tools, dust, or other materials that might be lying around. A tidy space allows viewers to concentrate on your project and its best features. You can also use this opportunity to style the space, letting your woodwork shine. Here are some quick cleaning strategies: – Choose a specific area for photos to keep it consistent. – Use a lint roller or cloth to give your project a polished finish. – Clear any visible surfaces in the frame to minimize distractions. A neat presentation shows professionalism and care, boosting buyer confidence in your work.
7. Experiment with Composition
Composition is all about arranging elements in your photos, and it can greatly affect the final look. Start with the rule of thirds; position your subject off-center for balance and interest. Play with leading lines to guide the viewer’s eye toward your focal point. Feel free to explore both symmetry and asymmetry to achieve different effects. Don’t hesitate to crop in various shapes to find the best frame for your project. Here are some composition tips: – Include negative space to create a sense of openness. – Use foreground elements to add depth to your images. – Capture candid moments of people interacting with the project for relatability. Strong composition can elevate your photos, helping your wood projects stand out.
8. Edit for Enhancement
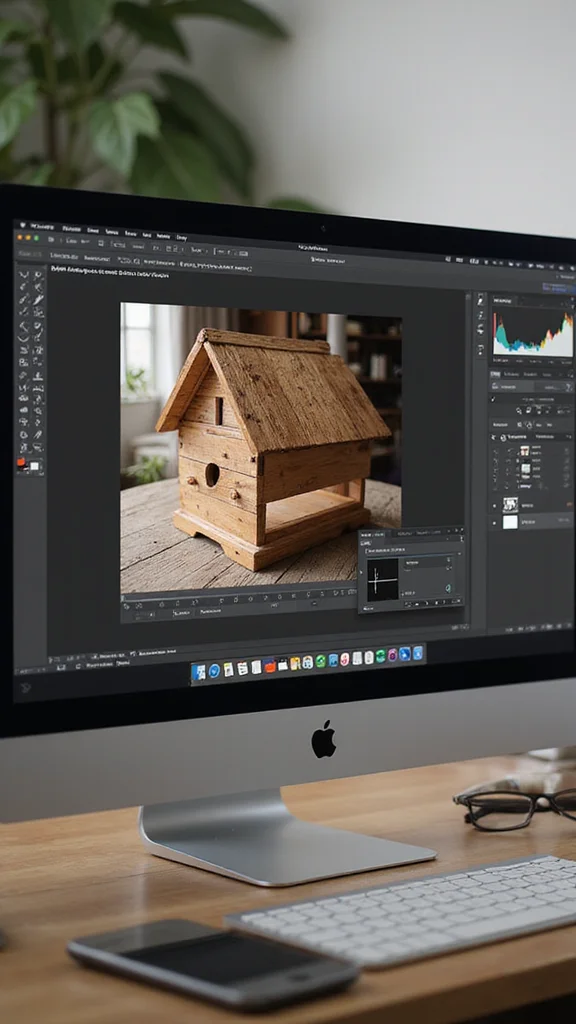
Editing is where you can take a good photograph and make it exceptional. Use editing tools to adjust brightness, contrast, and saturation for vibrant colors without looking artificial. Clean up any flaws or distractions that might have slipped through during the shoot. Consider using apps like Lightroom or Snapseed for enhanced editing options. Even simple adjustments can make your images more appealing to potential buyers. Editing tips: – Keep edits natural; avoid overdoing it. – Use presets to maintain a consistent look across your photos. – Crop images to improve composition when necessary. With thoughtful editing, your photos can truly showcase the quality of your wood projects.
9. Incorporate Lifestyle Shots
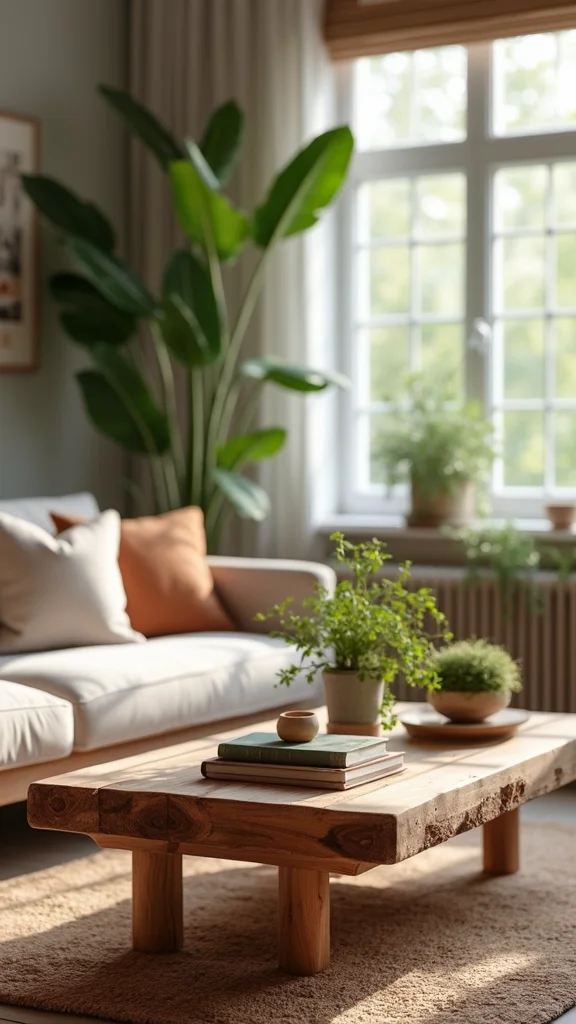
Lifestyle shots place your wood projects in real-life contexts, helping buyers visualize them in their homes. Capture your items in action—a wooden table set for dinner or a shelf adorned with plants in a cozy room. These images evoke feelings of warmth and familiarity, making your products more relatable. Consider teaming up with friends or family to stage these shots, showcasing genuine interactions with your projects. For effective lifestyle shots: – Use everyday items to create relatable scenes. – Ensure consistent lighting with your other images for a unified look. – Aim for candid moments instead of stiff poses for authenticity. Lifestyle shots can elevate your brand’s story, giving buyers a clear vision of how your products fit into their lives.
10. Showcase Variety in Your Portfolio
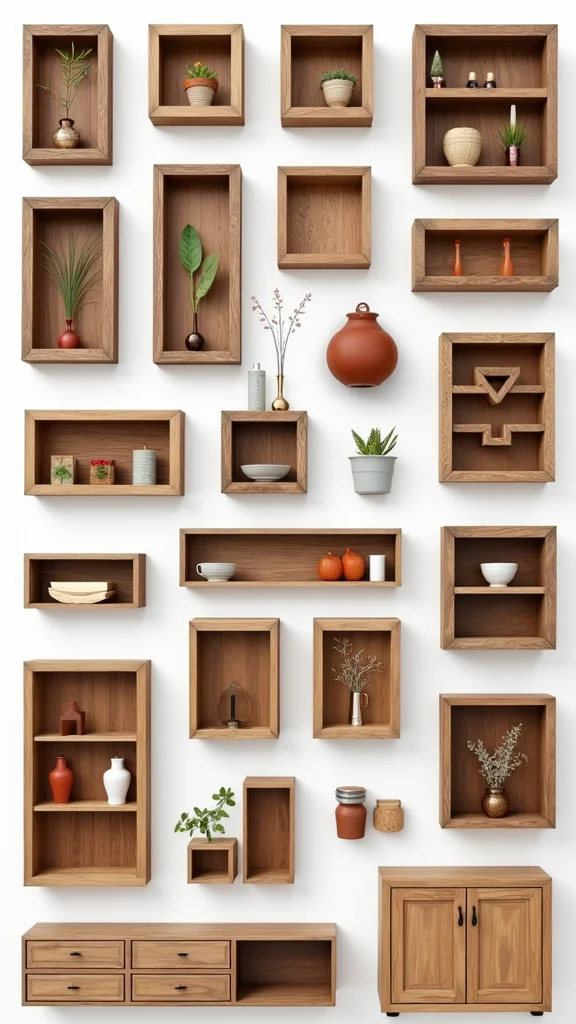
When building your online store, a variety of wood projects can attract more customers. Display different styles, colors, and sizes to appeal to a wider audience. A diverse portfolio showcases your creativity and range, which customers appreciate. Make sure each project is well-photographed, following previous tips for a consistent appearance across your portfolio. Consider creating themed collections for seasonal marketing, highlighting unique gifts for various occasions. Here are some strategies for variety: – Group similar items for clear collections. – Use a consistent color scheme for a cohesive series. – Regularly update your portfolio with new projects to keep it fresh. A well-curated collection helps buyers find what they need, encouraging more sales.
Conclusion
Great photography is a key ingredient in selling your DIY wood projects effectively.
By capturing the right angles, utilizing natural light, and showcasing your pieces in context, you can make your work truly shine.
Remember, each photograph tells a story of craftsmanship and creativity, enticing buyers to turn those unique gifts into their next favorite decor item.
Frequently Asked Questions
What are the best tips for photographing my DIY wood projects to sell?
Capturing stunning images of your DIY wood projects to sell can make a world of difference! Start by using natural lighting, as it enhances the color and detail of your woodwork. Try to shoot in a well-lit area or near a window during the day.
Consider using a simple backdrop that doesn’t distract from your projects. A plain wall or a piece of fabric can work wonders. Make sure to include multiple angles to showcase the craftsmanship, and don’t forget to highlight unique features that could make your creation a sought-after unique gift!
What equipment do I need for taking great photos of my wood projects?
You don’t need a fancy camera to snap great pictures of your wood projects! A smartphone with a decent camera is perfectly fine. Invest in a tripod to keep your shots steady, and if possible, use a camera with a macro lens to capture those fine details.
Editing apps can also help enhance your images post-shoot. Just a few tweaks can elevate your photos, making your online store look professional and inviting!
How can I style my wood projects for better photos?
Styling is key! When photographing your wood projects, consider incorporating props that complement the item. For instance, you could use plants, candles, or other home decor items that enhance the aesthetic of your project.
Arrange the items in a way that tells a story, which can make your photographs more engaging. Remember, the goal is to present your DIY wood projects in a way that sparks interest and makes potential buyers envision them in their own homes!
What are some common mistakes to avoid when photographing wood projects?
Avoid these pitfalls to ensure your photos shine! One common mistake is poor lighting, which can obscure the beauty of your woodwork. Always aim for natural light when possible.
Another mistake is cluttered backgrounds that distract from your project. Keep it simple! Lastly, avoid underexposure or overexposure; make sure your colors are vibrant and true to life. These small tweaks can significantly impact how your projects are perceived in your online store!
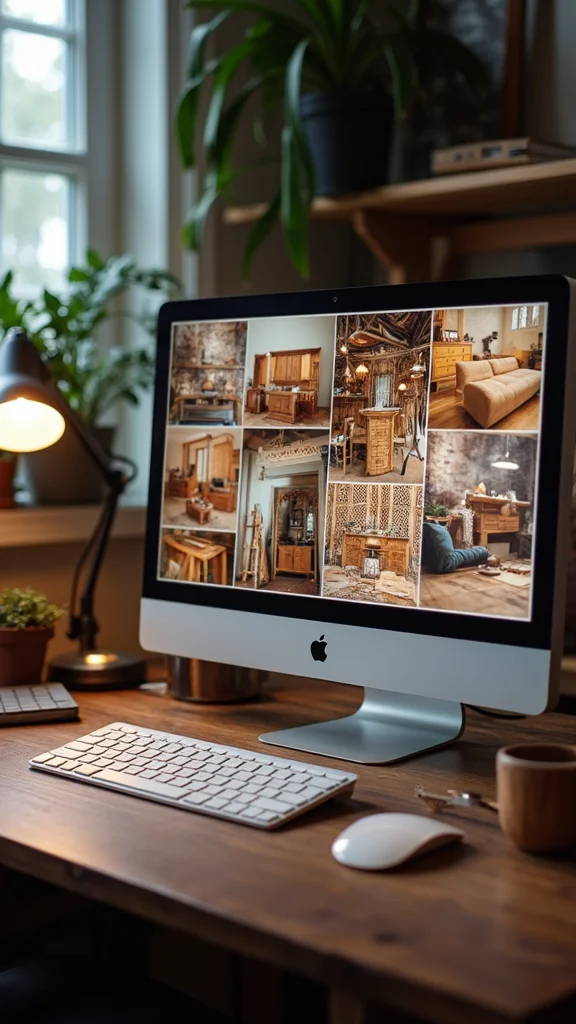
How do I use photos effectively to market my wood projects online?
Using photos effectively can help you market your wood projects like a pro! Start by showcasing your best images front and center in your online store. Use them in social media promotions and consider creating lifestyle shots that show your projects in real-life settings.
Also, don’t forget to provide context with your images. Captions that describe the project, the materials used, or the inspiration behind it can create a deeper connection with potential buyers. This storytelling aspect can help your products stand out as unique gifts!